EGit Configuration & Creating a Git Repository With Eclipse IDE

This is the second article of Eclipse IDE Plugins and it is about EGit. It is a plugin which allows to run Git commands inside Eclipse. You can do all the necessary things with this plugin regarding to the use of Git as a software developer.
There is a very large website of the things around EGit at their homepage, but I think it’s too much if you just want to use to program.
To follow this tutorial you have to have Eclipse installed on your operating system and EGit. If you haven’t installed EGit, you can follow my previous tutorial which shows how to install an Eclipse Plugin.
Configuration of EGit #
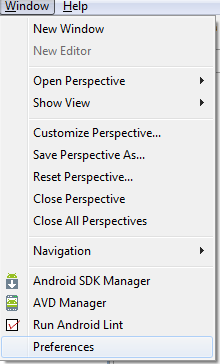
Start Eclipse and go to the Window menu and choose Preferences.
Configuration #
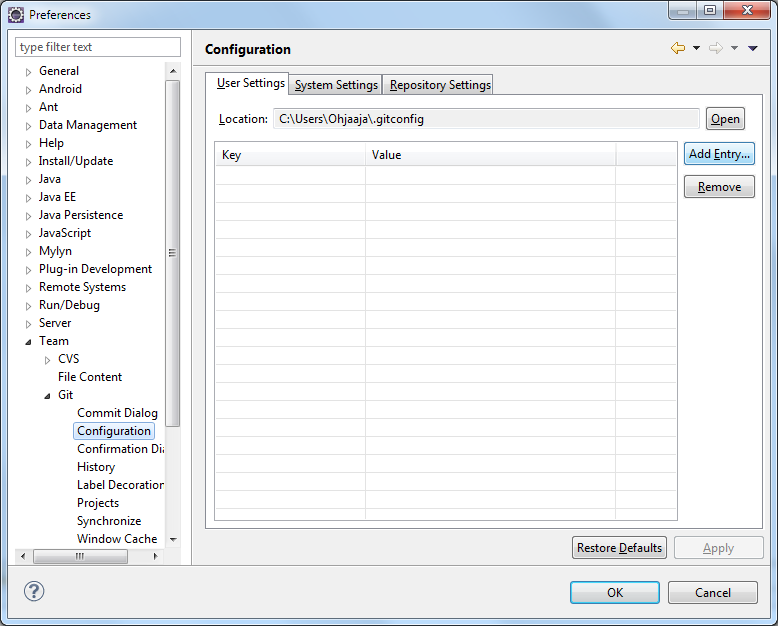
Surf in the Preferences menu to Team->Git->Configuration and click Add Entry
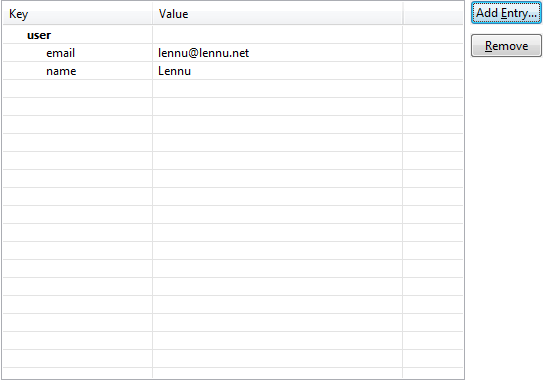
Add Entry #
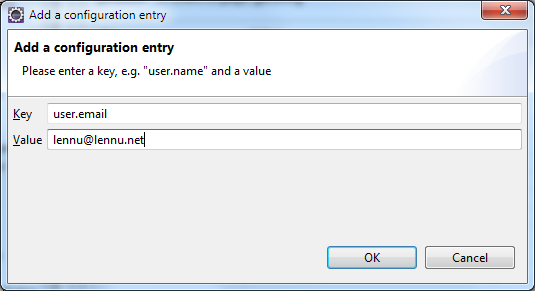
Here we add the first entry to the Git configurations. Key: user.email and Value: your own email address. Click OK when finished.
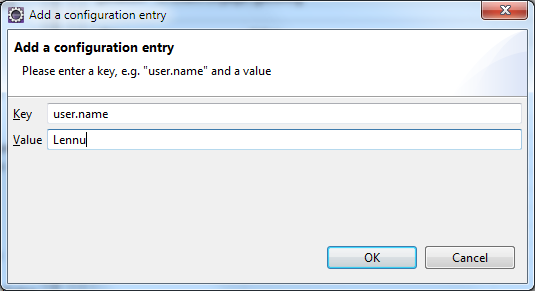
Click Add Entry again and this time Key: user.name and Value: your own name. Click OK when finished
Configurations Done #
Now you have succesfully configured EGit to work. CLick OK to save the configurations.
Creating a Git repository #
Next we will create our first Git repository straight from Eclipse by using EGit. You have to have one Eclipse Project created already. Click right mouse button on the project and select Team->Share Project
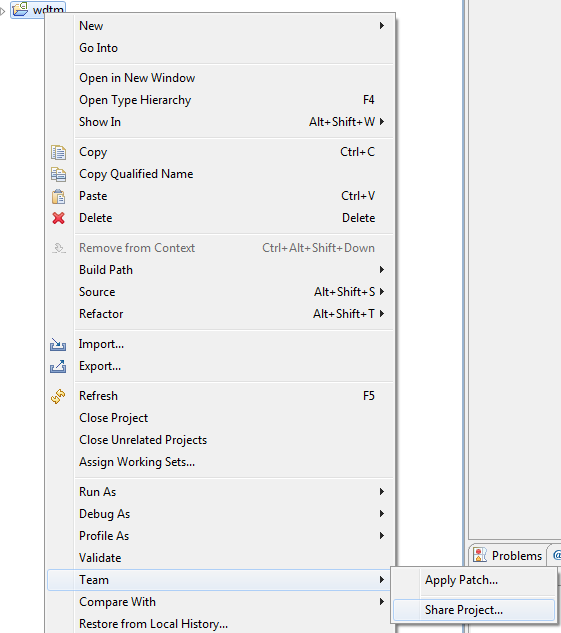
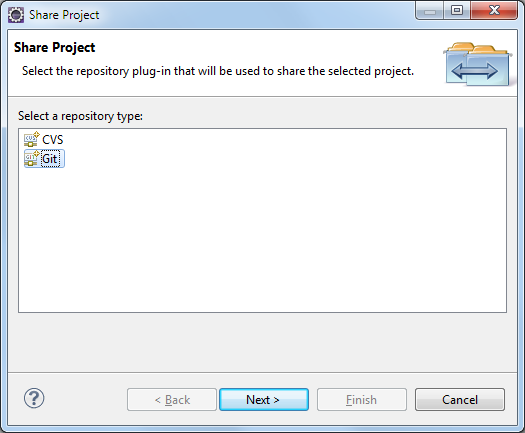
Share Project #
Here we will select Git.
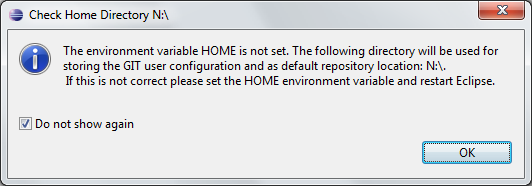
If you get this error, you can select “Do not show again” and click OK.
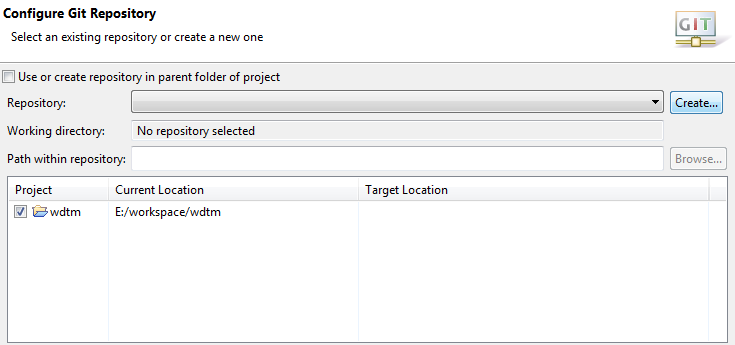
Configure #
Choose your project if not selected and click Create.
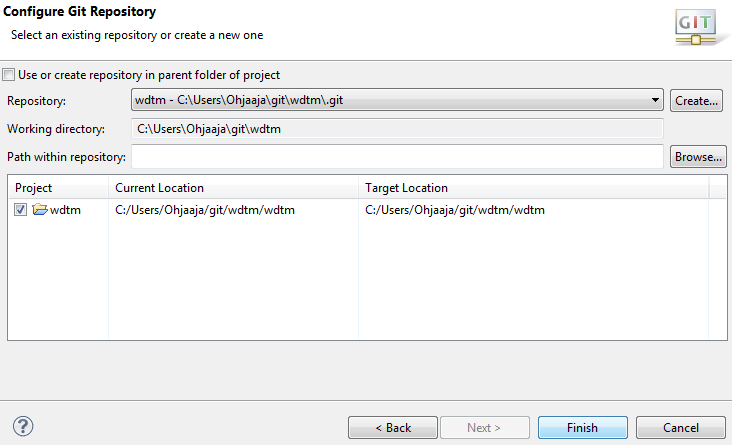
New Git Repository #
You can here choose directory for your repository, but I prefer the default location, since all the user data is also in there. Also give your repository a name. Click Finish after giving the name.

Conclusion #
Here we wee our conclusion what we are going to do. Click Finish to continue.
Done Installation #
Now you have succesfully created a Git repository. Right click a project and go to Team and you will see all the necessary Git functions available. Click on the Commit.
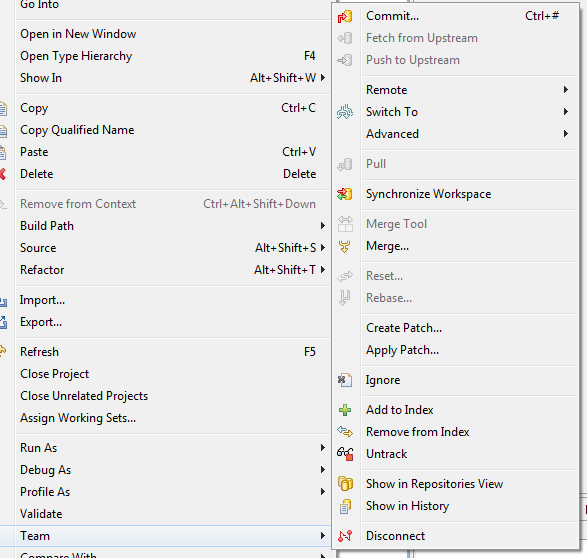
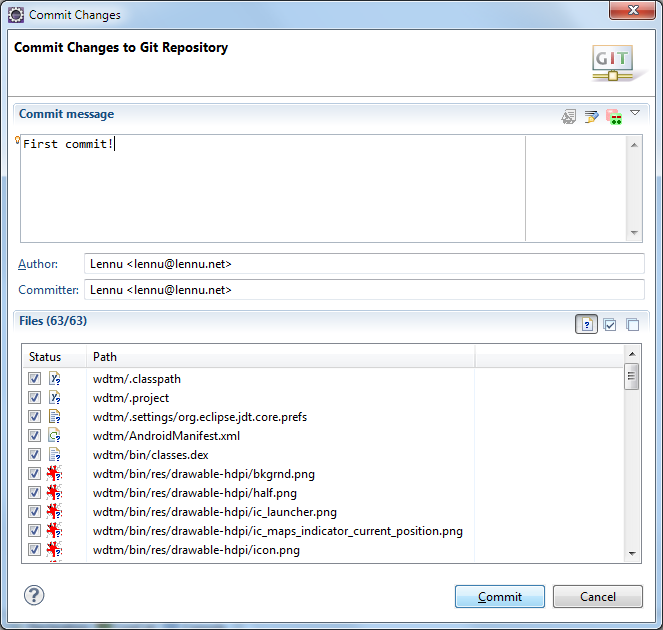
Commit #
Here you can make your first commit, just select all the files you’d like to commit and click Commit. Now your first saves are done to the version history.
On the next tutorial I will show how to import a Git project into Eclipse and what are the basic commands you need to use Git in other ways than just Commit.
- Previous: Eclipse IDE Plugin Installation
- Next: Finnish Education System