Eclipse IDE Plugin Installation

This article starts a three posts long serie of Eclipse IDE Plugins where I’m going to show how to install plugins and how to use one specific. This post will be about installation of the plugins to the great Eclipse IDE. There are tons of plugins, but not so much tutorials how install them. This will be a general tutorial to all of them. To follow this tutorial you have to have Eclipse installed on your operating system. You can download it from here: http://www.eclipse.org/downloads/.
Installation of a Plugins #
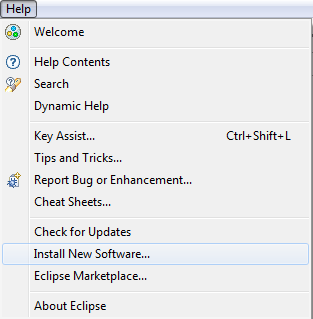
Start Eclipse and go to the Help menu and Choose Install New Software.
URL #
At this point we need an URL for the software, this URL is usually found from the Plugins website. Give the URL and click Enter.

Load #
Eclipse will load the Plugins found from this URL, select the one you want to install.

If you get an error like this “Cannot complete the install because one or more required items could not be found.”, it usually means that your Eclipse IDE version is incorrect for this plugin.

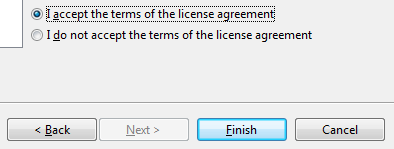
Terms #
Allow the terms of installation.
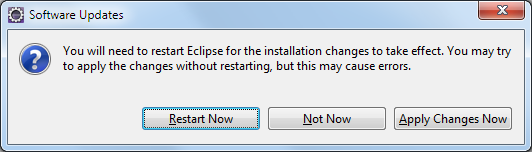
Restart #
Next up Eclipse will install the software and asks for restart permission. You should restart Eclipse, so that everything goes smoothly for succesful installation.
Finished #
Now you have succesfully installed a plugin to Eclipse! Hopefully it will speed up some of your development.